Sewing Inquiry – The Iron
There are hobbies that are 90% something else. Pottery is 90% waiting for clay to dry. Gardening is 90% weeding. Birdwatching is 90% staring at the sky.
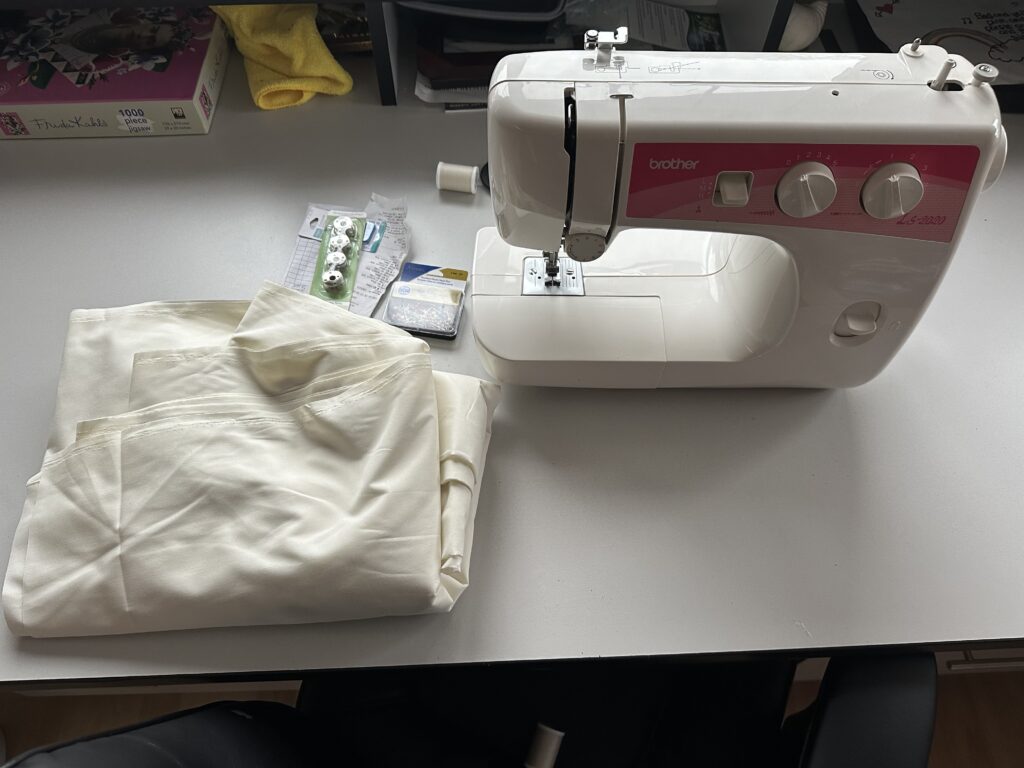
Sewing is 90% ironing. After washing the fabric, I had to iron it so that it was as neat as possible before cutting it. It’s a lot of fabic so it took a while. It’s an important step because wrinkled fabric means uneven cuts and hems.
After finally getting it ironed, I realized that I actually didn’t buy enough fabric to make the cuts I needed, but luckily Chat-GPT helped me figure out how I could cover all 3 windows the way I was hoping. I had to make the curtains slightly shorter and I will have seem on some of my curtains, but that was unavoidable. This is the plan:
Cutting Diagram:
Fabric width: 54 inches
Total yardage: 12 yards (432 inches) Panel cut length: 86 inches
Finished length: ~79.5–80 inches
Header: 2.5 inches | Bottom hem: 4 inches
| Cut Order | Piece Size (W × L) | Purpose |
| 1 | 54″ × 86″ | Area 3 – Panel 1 base |
| 2 | 54″ × 86″ | Area 3 – Panel 2 base |
| 3 | 54″ × 86″ | Area 1 & 2 base |
| 4 | 54″ × 86″ | Area 1 & 2 base |
| 5 | 54″ × 86″ | Side strips (cut into two 14″ strips) |
Assembly Notes:
– Cut five 86″ drops in sequence (total used: 430″)
– Drop #5 is sub-cut into two 14″ × 86″ strips
– Area 3 panels = 54″ + 14″ (2 pieces per panel)
– Area 1 & 2 panels are trimmed to ~40″ width
– Place seams toward walls for best appearance
Now that I’ve got my fabric ironed and cut, it’s time to practice sewing with my machine on the remainder of the fabric before I attempt my curtains!